
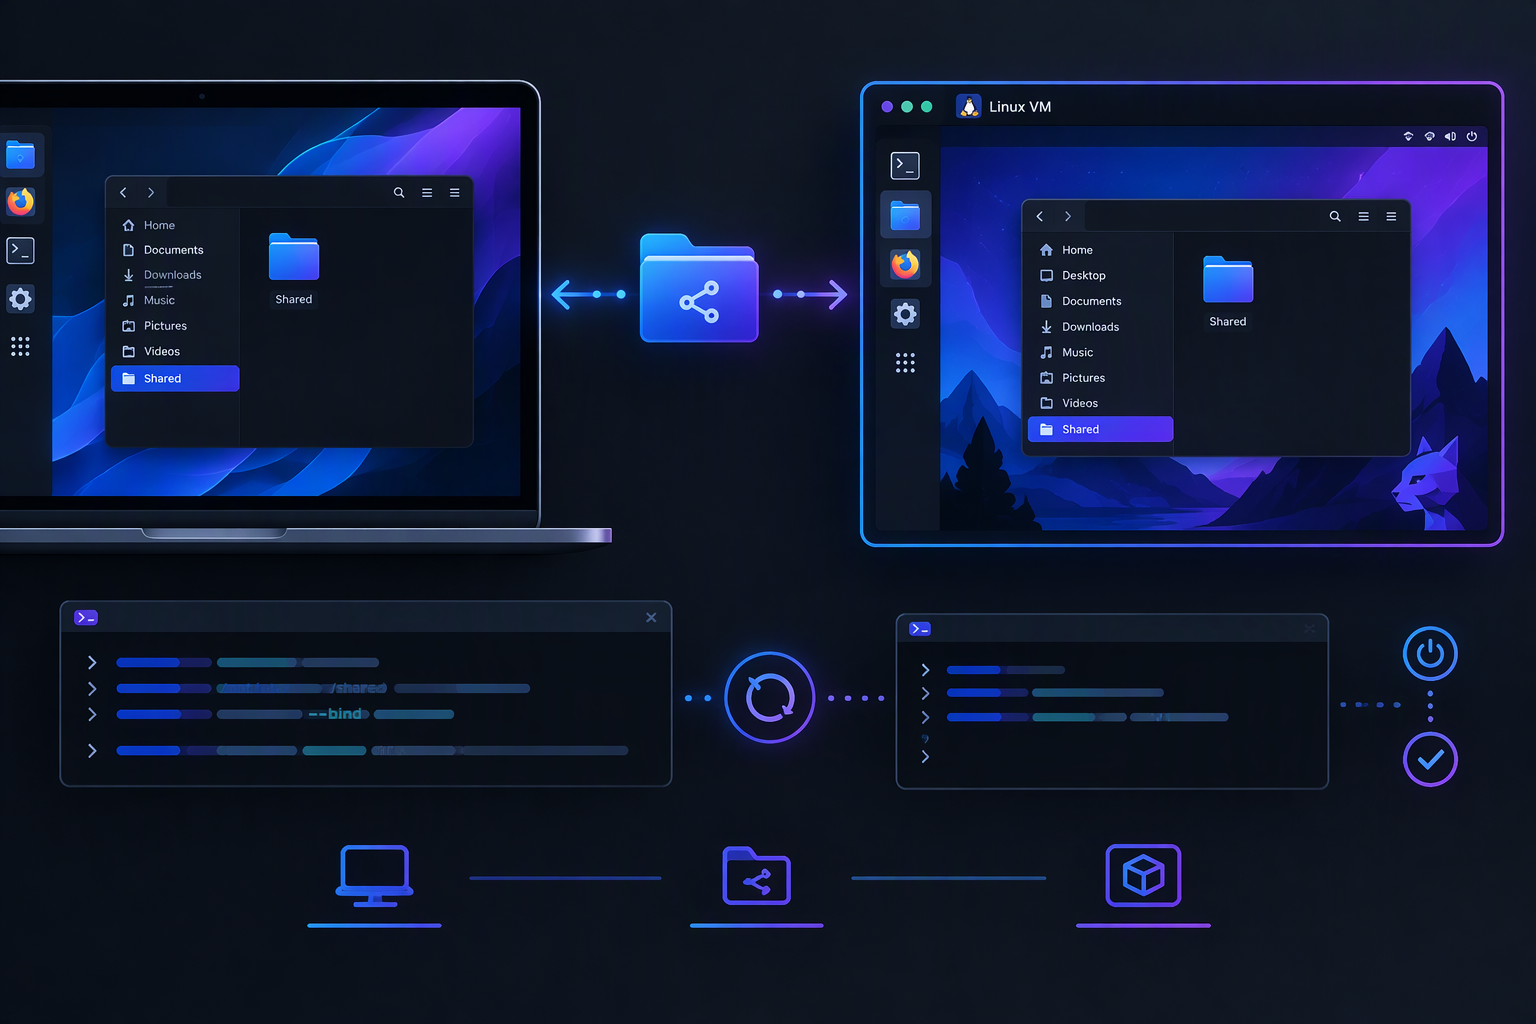

Sharing a folder between your host computer and a Linux virtual machine is useful for moving files, editing code, storing downloads, and accessing the same documents from both systems.
This beginner-friendly guide explains how to create a shared folder on the host computer, expose it to a Linux VM, mount it manually inside Linux, and make it load automatically every time the VM restarts. The Linux-side procedure is similar across many distributions, including CatchyOS.
Before You Begin
- A working Linux virtual machine
- Administrator access inside the VM
- A folder on the host computer that is shared with the VM
- The share name, tag, or device name provided by your virtualization software
In the examples below, the shared folder is called shared, and it will appear inside Linux at /mnt/shared. Replace shared with the name used by your VM software if it is different.
Important: Do not copy the example mount command blindly if your hypervisor uses a different sharing method. The filesystem type and share name must match the way the host exposes the folder.
Step 1: Create a Folder on the Host
On the host operating system, create a folder that you want to share with the VM. For example, name it Linux-VM-Shared.
Add a test file to it, such as shared-test.txt. This makes it easy to confirm that the VM can see the correct folder later.
Step 2: Add the Folder to Your Virtual Machine
Open your virtualization software and select the Linux VM. Find its storage, filesystem, or shared-folder settings, then add the host folder.
- Host path: The folder you created
- Share name or tag:
shared - Read-only: Disabled if the VM must create or edit files
- Mount automatically: Optional, because this guide configures automatic mounting inside Linux
Start the Linux VM after saving the settings.
Step 3: Create a Mount Point Inside Linux
Open a terminal in the VM and create the directory where the shared folder will appear:
sudo mkdir -p /mnt/sharedA mount point is an empty directory used as the entry point for another filesystem. Verify that it exists:
ls -ld /mnt/sharedStep 4: Mount the Shared Folder Manually
The command depends on the filesystem interface provided by your hypervisor. The following example uses VirtioFS, a common method for sharing host folders with modern Linux VMs:
sudo mount -t virtiofs shared /mnt/sharedIf the command succeeds, check the contents:
ls -la /mnt/sharedYou should see the test file created on the host.
Create a second test file from inside the VM:
echo "Created inside the Linux VM" | sudo tee /mnt/shared/vm-test.txtNow check the host folder. If vm-test.txt appears there, two-way sharing is working.
Alternative: A 9p Share
Some QEMU or KVM configurations expose shared folders through 9p instead of VirtioFS. In that case, the mount command may look like this:
sudo mount -t 9p -o trans=virtio,version=9p2000.L shared /mnt/sharedThe tag shared must match the 9p share tag configured for the VM.
Step 5: Check the Active Mount
Use findmnt to confirm that Linux mounted the folder:
findmnt /mnt/sharedYou can also check disk usage:
df -h /mnt/sharedIf both commands show the share, the manual mount is working.
Step 6: Find Your Linux User ID and Group ID
Automatic mounting can sometimes make mounted files belong to root. To prepare for user-specific permissions, find your user and group IDs:
idLook for output similar to:
uid=1000(your-user) gid=1000(your-user)The exact numbers may differ. Keep them available if your hypervisor’s mount options support uid and gid.
Step 7: Add the Mount to /etc/fstab
The /etc/fstab file tells Linux which filesystems to mount during startup. Create a backup before editing it:
sudo cp /etc/fstab /etc/fstab.backupOpen the file:
sudo nano /etc/fstabAdd this line at the bottom for a VirtioFS share:
shared /mnt/shared virtiofs defaults,nofail,x-systemd.automount 0 0Here is what the options mean:
shared: The share name provided by the hypervisor/mnt/shared: The Linux mount pointvirtiofs: The filesystem typedefaults: Standard mount optionsnofail: Allows Linux to continue booting if the share is temporarily unavailablex-systemd.automount: Mounts the share automatically when the directory is first accessed0 0: Excludes the share from traditional dump and filesystem-check operations
Save the file in Nano with Ctrl+O, press Enter, then exit with Ctrl+X.
/etc/fstab Example for 9p
If your VM uses 9p, use a line similar to this instead:
shared /mnt/shared 9p trans=virtio,version=9p2000.L,_netdev,nofail,x-systemd.automount 0 0Do not add both lines for the same mount point. Use the one that matches your VM’s sharing method.
Step 8: Test the Automatic Mount Without Rebooting
Before restarting the VM, ask Linux to process the new /etc/fstab entry:
sudo mount -aIf the command returns no error, check the mount:
findmnt /mnt/sharedThen list the contents:
ls -la /mnt/sharedThis test catches most /etc/fstab mistakes before they can affect the next boot.
Step 9: Restart the Linux VM
Restart the VM:
sudo rebootAfter logging in again, access the mount point:
ls -la /mnt/sharedBecause x-systemd.automount is enabled, the share may mount when you first access /mnt/shared rather than immediately during the earliest part of boot.
Confirm it is active:
findmnt /mnt/sharedIf the host folder contents appear after reboot, automatic mounting is configured correctly.
Step 10: Improve Permissions for Normal Users
If files are readable only by root, first check the ownership and permissions:
ls -ld /mnt/shared
ls -la /mnt/shared
Some sharing methods support user and group options, such as uid=1000,gid=1000. However, these options are not accepted by every filesystem type. Add them only when supported by your virtualization software and filesystem driver.
A safer first test is to create a subfolder and check whether your regular user can write to it:
mkdir /mnt/shared/permission-testIf that command fails with Permission denied, the correct fix depends on whether permissions are controlled by the host, the hypervisor, or the guest filesystem driver. Avoid immediately changing permissions recursively.
Common Problems and Fixes
mount: unknown filesystem type 'virtiofs'
The guest may not have VirtioFS support available, or the VM may be using another sharing method. Check whether your VM should use 9p, NFS, SMB, or a hypervisor-specific driver.
mount point does not exist
Create it with:
sudo mkdir -p /mnt/sharedspecial device shared does not exist
The share name or tag does not match the value configured in the hypervisor. Recheck the host-side shared-folder settings.
The VM boots slowly
A share may be unavailable while the host or virtualization service is starting. The nofail and x-systemd.automount options reduce the chance of a boot failure or long boot delay.
The folder is empty after reboot
Run:
findmnt /mnt/sharedIf nothing is mounted, test the entry manually:
sudo mount -aThe error message usually identifies an incorrect share name, filesystem type, option, or mount point.
The host folder is read-only
Check whether the share was added as read-only in the VM settings. Also check whether the host folder itself allows your host user to write to it.
Files are owned by root
This usually means the mount was performed by the root account without user-mapping options. Review the filesystem-specific permission options instead of applying an overly permissive recursive permission change.
Useful Verification Commands
# Show the mount configured for this directory
findmnt /mnt/shared

# Show filesystem type and available space
df -hT /mnt/shared

# Display the relevant fstab line
grep -n '/mnt/shared' /etc/fstab

# Show recent systemd mount messages
journalctl -b --no-pager | grep -i shared
Best Practices
- Always test with
sudo mount -abefore rebooting. A typo in/etc/fstabcan cause boot problems. - Use
nofailfor non-essential shares. The VM should still boot if the host share is unavailable. - Use
x-systemd.automountwhen the share does not need to be active immediately. It mounts when accessed. - Keep a backup of
/etc/fstab. The backup makes recovery easier if a configuration edit goes wrong. - Avoid broad permission changes. Fix the host share or filesystem-specific mapping instead of using overly permissive settings.
- Use a dedicated host folder. Keeping shared files separate from private host files reduces accidental exposure.
Final Checklist
- The host folder is configured in the VM settings
/mnt/sharedexists inside Linux- A manual mount works
findmnt /mnt/sharedshows an active mount- The correct entry is present in
/etc/fstab sudo mount -acompletes without errors- The folder is available after a VM reboot
- Your regular Linux user has the access level you need
With this setup, the host folder becomes available inside the Linux VM automatically whenever you restart it, while nofail helps keep the VM bootable if the host share is temporarily unavailable.